How to Achieve the Perfect Fade Haircut at Home: A Step-by-Step Guide
Let's be real: paying $25-40 every three weeks for a fade adds up fast. That's $400-500 a year just to keep your sides and back clean. After spending way too much money at barbershops over the years, I finally invested in clippers and learned to do it myself—and I'm not going back. The first time I cut my own fade, it wasn't perfect, but it was 80% there. By the third time, it looked as good as anything a barber produced. The learning curve is real, but it's not steep, and this guide will cut that curve in half.
Here's what matters: you don't need expensive equipment or fancy techniques. You need the right tools, a solid understanding of clipper guard sizes, and the discipline to go slow. Most guys rush it, try to do the whole thing in five minutes, and end up with bald spots or uneven lines. Take your time, and you'll nail it.
Table of Contents
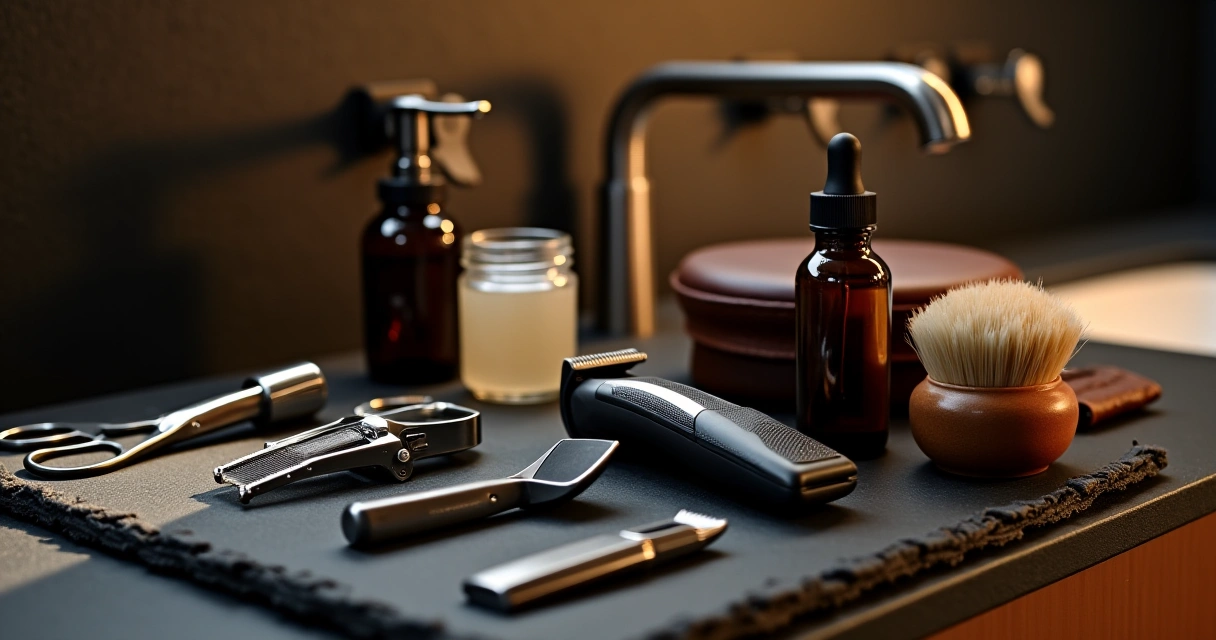
Get the Right Tools and Setup
Don't cheap out on clippers. I tried a $30 set from the drugstore once—never again. Cheap clippers pull hair instead of cutting it cleanly, they overheat, and they die after a few months. Spend $60-100 on a decent set like Wahl, Andis, or Oster. These are what barbers actually use, and they'll last years if you take care of them. You're looking at something with adjustable guards, a corded design (wireless clippers lose power midway through), and a good reputation for consistent cutting.
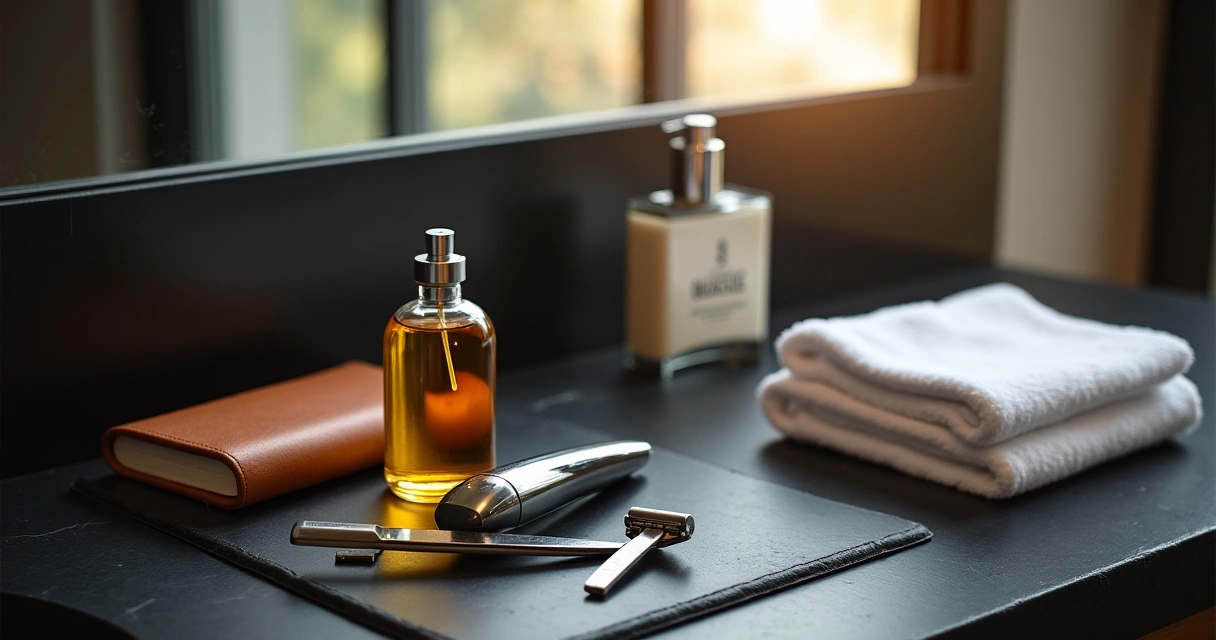
Beyond clippers, you need: a mirror (preferably two mirrors so you can see the back of your head), a spray bottle with water, a fine-tooth comb, small scissors for detail work, a towel, and a vacuum or handheld dustpan. Set up in a well-lit bathroom or over a trash can. Seriously—hair clippings are a mess, and cleaning them up beats having them all over your bathroom floor. Spray your hair lightly with water before you start. Dry hair can be unpredictable with clippers; damp hair gives you better control and more consistent results.
Understand Clipper Guards and Fade Progression
This is the foundation of understanding fades. Clipper guards control how short you cut. Most sets come with guards labeled 0, 0.5, 1, 1.5, 2, 3, 4—basically the millimeter length of hair left behind. A #1 guard leaves about 3mm, a #2 leaves 6mm, a #3 leaves 9mm, and so on. A fade isn't one length; it's a graduated progression from short at the bottom to longer at the top. The goal is smooth transitions between guard sizes so no visible line stands out.
A typical fade progression looks like this: start with a #0.5 or #1 on the very bottom (sides and back), move to #1.5 in the next section, then #2 higher up, and blend into longer length at the top. If you're doing a mid or high fade, you're starting this process higher up on the head. A low fade keeps most of this work closer to the ears and neckline. Most guys doing fades at home should start with a mid fade—it gives you more room for error and is more forgiving than a high fade that sits right at eye level.
The Step-by-Step Fade Technique
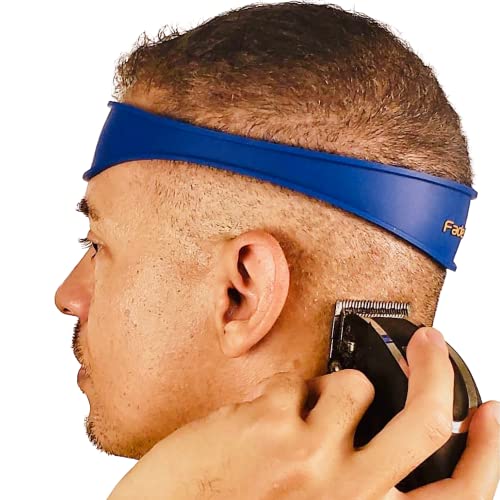
Step 1: Start at the neckline with your shortest guard. Use a #0.5 or #1 guard. Hold the clipper at a 45-degree angle pointing slightly upward toward the crown. This angle is critical—it helps create the taper. Move the clipper upward in smooth, controlled strokes from the neckline up about an inch. Go over the entire back and sides at this length. Don't rush. One smooth pass is better than three quick ones.
Step 2: Move to your next guard size. If you started with #1, switch to #1.5. Start from where your first pass ended and move upward another inch or so. Keep that 45-degree angle. The overlap between passes creates the blend. Repeat on all sides. This is where fades live—in these overlapping transitions.
Step 3: Continue with progressively longer guards. Move to #2, then #3 as you work upward. Each pass should be slightly higher and blend with the previous one. By the time you reach the crown, you should be using just a comb or scissors on the longer hair on top—no guard needed.
Step 4: Work on the top. This isn't part of the fade; it's the bulk of your hair. Use scissors or a #3-4 guard on top to maintain whatever length you want there. Most guys keep the top longer to contrast with the faded sides. Taper it slightly forward toward the front so it sits naturally.
Clean Up the Edges and Neckline
A clean neckline and edge work separate a homemade fade from a professional one. Use a #0 or #0.5 guard (or an edger tool if you have one) to clean up the back neckline in a clean line. You want a defined edge, not scraggly hair trailing down your neck. Work from the center outward on both sides. Then clean up around the ears—this is detail work that takes precision. Go slow, especially your first time.
The front hairline is optional depending on your style. If you have a high fade that goes up the sides of your head, you might want clean lines there too. Use the edger for crisp lines, and hold your guard at 90 degrees (perpendicular to the head) for clean edges. The difference between a clean edge and a sloppy one is huge—it's what elevates a home fade to looking intentional rather than rushed.
Blend and Perfect Your Work
After your initial passes, step back and look. Seriously—use both mirrors to check the back. You're looking for any obvious lines between guard sizes or any spots you missed. This is where blending comes in. Take your #1.5 or #2 guard (wherever transitions look harsh) and make light, overlapping passes. Blending is about feathering edges so transitions are smooth, not abrupt. A good fade should have no hard lines—just a gradual progression.
Use the comb to lift hair and see what's underneath. Sometimes what looks uneven is just hair direction. Comb it and reassess before making another pass with clippers. If you over-cut one spot, you're stuck until your hair grows back, so this checking-twice thing is worth the extra time. On your first fade, this blending stage might take as long as the initial cutting. That's fine. You're learning.
Common Mistakes to Avoid on Your First Try
Mistake 1: Not going slow on the back. You can't see the back without a mirror, which means you have limited real-time feedback. Use two mirrors or ask someone to spot-check your work. The back is where most first-timers go too short or create visible lines. Go methodically and check after each pass.
Mistake 2: Skipping the angle. Holding clippers flat to your head (90 degrees) creates harsh lines. That 45-degree angle is what creates the taper. You're not cutting straight; you're cutting at an angle that naturally blends length. Master this angle, and fades become much easier.
Mistake 3: Trying to do it in five minutes. A barber does a fade in 15 minutes because they've done thousands. Your first fade should take 30-40 minutes. Your fifth fade will take 20. Speed comes with repetition, not rushing. The guys who get frustrated usually tried to hustle through it.
Mistake 4: Forgetting to clean your clippers mid-cut. Hair builds up in the blade, clogs the guard, and prevents clean cuts. Clean them every few passes with the little brush that came with your set. This literally doubles the quality of your cutting.
Mistake 5: Not checking your work in natural light. Bathroom lighting can hide uneven spots. Walk to a window or go outside. The sun shows every flaw and every spot you missed. Your barber's mirror setup makes this automatic; you have to be deliberate about it.
Frequently Asked Questions
How often should I cut my fade at home?
Most fades need a trim every 2-3 weeks to look sharp. If you're only cutting the sides and back (not the top), it's a 10-minute job after your second or third time. Once you get comfortable, home maintenance is genuinely easier than going to a barbershop.
What if I mess up and cut too short in one spot?
You're stuck until it grows back. This is why going conservative on your first attempt matters. If it's just one small spot, you can sometimes blend it by going slightly shorter around it, but there's no real fix. It'll grow back in 1-2 weeks. Learn from it and adjust next time.
Can I use the same clippers for facial hair and head hair?
Technically yes, but don't. Head hair and beard hair are different textures, and using the same clippers for both dulls the blade faster. Get a separate set for face grooming or use scissors for beard work. Your head clippers will last significantly longer if they're dedicated to that job.
What's the difference between a low, mid, and high fade?
Low fade: gradual blending starts near the ear, keeps most of the fade low. Mid fade: blending starts around the middle of the head. High fade: blending starts high up, sometimes near the temple or even higher. For beginners, mid fades are most forgiving. High fades show every mistake because they're more visible.
Do I need to oil or maintain my clippers after use?
Yes. After each use, brush the hair out and apply a tiny drop of clipper oil to the blade. This prevents rust and keeps the blade moving smoothly. It takes 30 seconds and adds years to the life of your clippers. Neglecting this is how you kill expensive tools.
Should I cut my fade wet or dry?
Lightly damp is ideal. Completely wet hair is unpredictable and can look shorter than it actually is when it dries. Completely dry hair can tangle in clippers. Spray lightly with water, let it settle for a minute, and you're good to go. This gives you consistent results every time.
Taking control of your own fade cuts is one of the smartest grooming moves you can make. You save money, you learn something concrete, and you have a skill that actually impresses people when you mention it casually. Your first fade won't be barbershop perfect—but it won't need to be. By your third attempt, you'll be getting results that rival what you paid for before. Start this weekend. Get a decent set of clippers, give yourself 40 minutes, and commit to going slow. You